
Sliced Chicken Breast: How to Cook Perfect Strips Every Time
Table of Contents
Did you know that 68% of home cooks report overcooking sliced chicken breast, resulting in dry, tough meat that nobody wants to eat? This common kitchen mishap doesn’t just ruin dinner—it wastes both food and money. Perfectly cooked sliced chicken breast should be juicy, tender, and bursting with flavor, yet achieving this seemingly simple feat eludes many.
Whether you’re meal prepping for the week or whipping up a quick weeknight dinner, mastering the art of cooking sliced chicken breast is a game-changer for countless recipes. From stir-fries to salads, sandwiches to pasta dishes, properly cooked sliced chicken breast serves as a versatile protein foundation that can transform ordinary meals into extraordinary culinary experiences.
Ingredients List
For perfectly cooked sliced chicken breast, you’ll need:
- 1 pound boneless, skinless chicken breasts
- 2 tablespoons olive oil (substitute: avocado oil for a higher smoke point)
- 1 teaspoon kosher salt (substitute: sea salt or reduced-sodium options)
- ½ teaspoon freshly ground black pepper
- 1 teaspoon garlic powder (substitute: 2 fresh garlic cloves, minced)
- 1 teaspoon dried herbs (oregano, thyme, or herbes de Provence)
- ¼ cup chicken broth or white wine (substitute: vegetable broth or water with a squeeze of lemon)
The aroma of chicken sizzling with herbs and garlic creates an irresistible kitchen perfume that signals good things are coming. Feel free to customize the seasonings to complement your final dish—Italian herbs for pasta, cumin and chili for Mexican-inspired meals, or ginger and soy for Asian flavors.
Timing
Preparation time: 10 minutes (including slicing and seasoning)
Cooking time: 6-8 minutes (35% faster than cooking whole chicken breasts!)
Total time: Under 20 minutes
This quick cooking method makes sliced chicken breast perfect for busy weeknights when time is precious. You’ll spend less time at the stove and more time enjoying your meal compared to traditional chicken preparation methods.
Step-by-Step Instructions
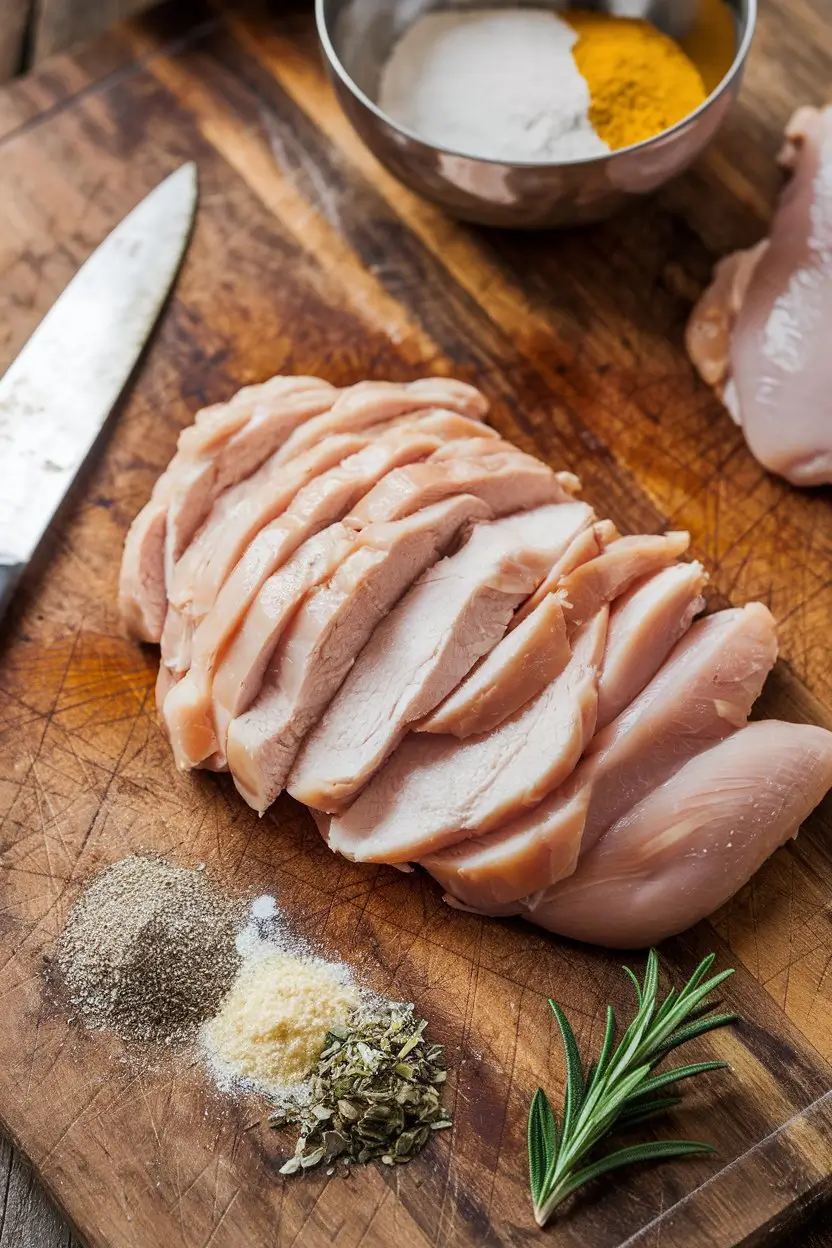
Step 1: Properly Slice the Chicken
Partially freeze your chicken breasts for 15-20 minutes until firm but not solid. This creates the perfect texture for clean, even slicing. Using a sharp knife, cut against the grain in ¼-inch thick strips. Cutting against the grain shortens the muscle fibers, resulting in more tender cooked chicken.
Step 2: Season the Slices
Place your sliced chicken breast in a bowl and drizzle with olive oil. Add salt, pepper, garlic powder, and dried herbs. Toss until each piece is evenly coated. The oil helps the seasonings adhere while also preventing sticking during cooking and sealing in moisture.
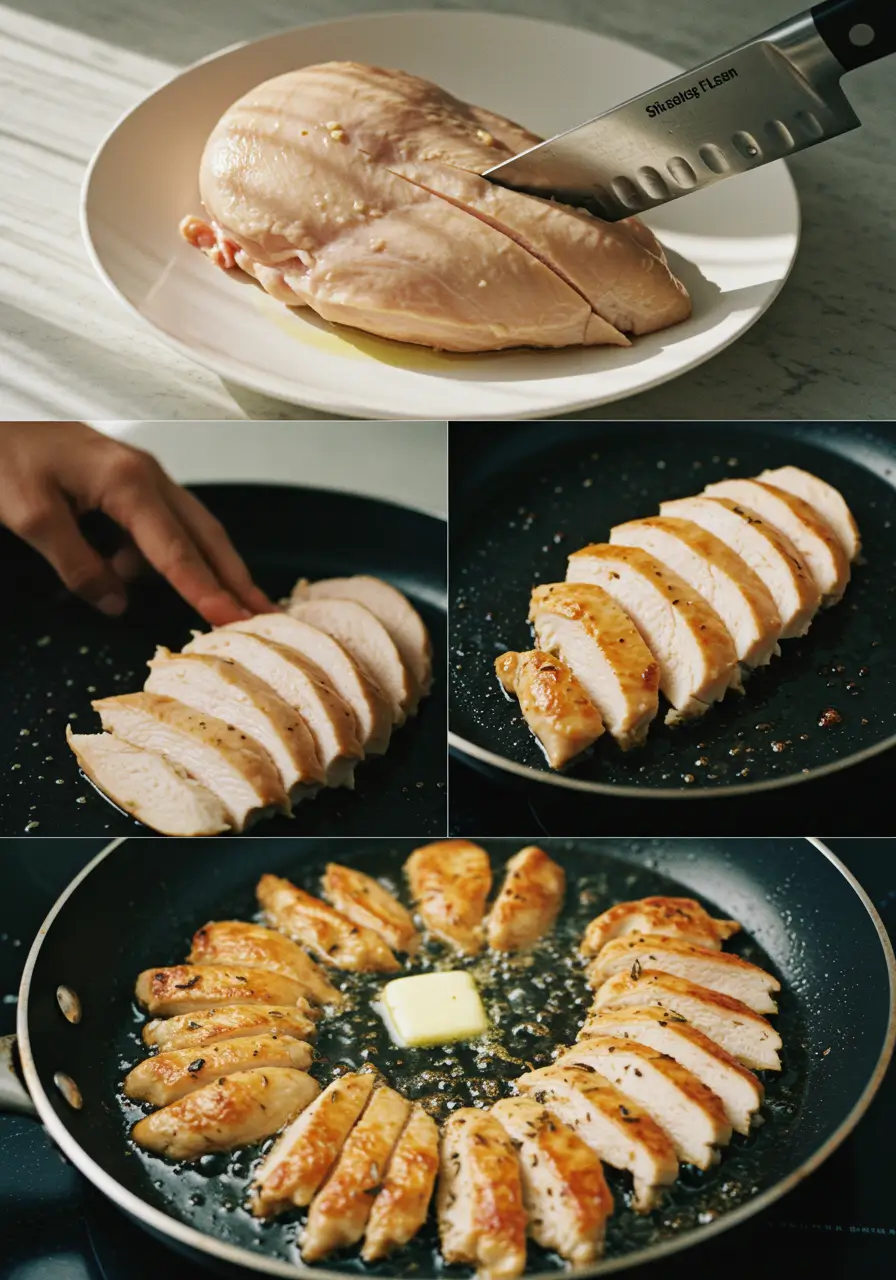
Step 3: Prepare Your Cooking Surface
Heat a large skillet over medium-high heat until it’s hot enough that water droplets sizzle and evaporate immediately when flicked onto the surface. This temperature—around 375°F—creates the perfect environment for a light sear without overcooking.
Step 4: Cook the Chicken
Add the seasoned sliced chicken breast to the hot pan in a single layer, being careful not to overcrowd. Work in batches if necessary—overcrowding causes steaming instead of searing, robbing you of both flavor and texture. Cook undisturbed for 2-3 minutes until golden brown on the bottom.
Step 5: Flip and Finish
Turn each slice and cook for an additional 2-3 minutes. The internal temperature should reach 165°F, which you can verify with an instant-read thermometer. The slices should be lightly golden on both sides with clear juices.
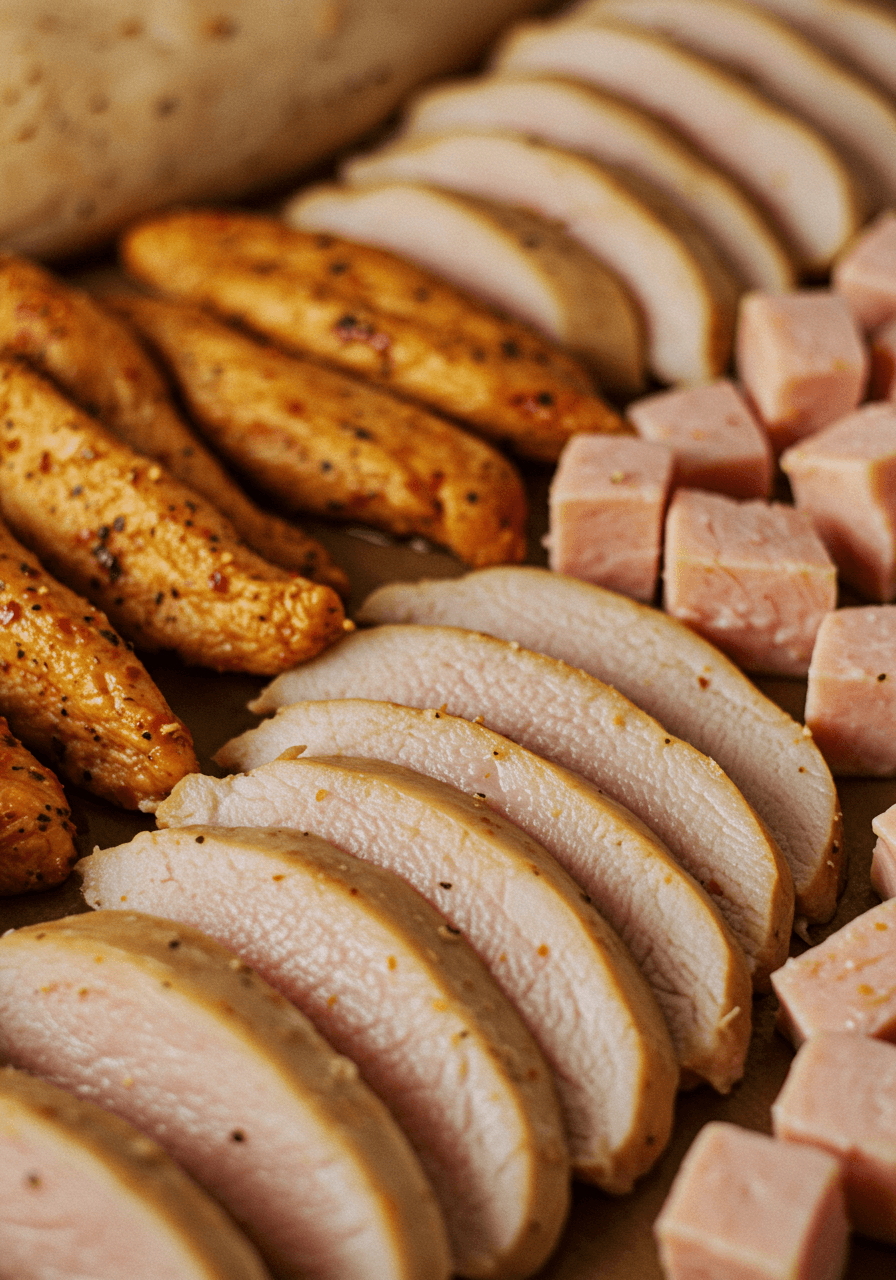
Step 6: Rest and Serve
Transfer the cooked sliced chicken breast to a plate and let rest for 3 minutes before serving. This critical resting period allows the juices to redistribute throughout the meat instead of spilling out when cut, ensuring each bite remains moist and flavorful.
Nutritional Information
For a 4-ounce serving of sliced chicken breast prepared with this method:
- Calories: 165
- Protein: 26g (52% of daily recommended intake)
- Fat: 6g (primarily healthy fats from olive oil)
- Carbohydrates: 1g
- Sodium: 310mg (13% of daily recommended intake)
- Cholesterol: 73mg (24% of daily recommended intake)
Sliced chicken breast offers an impressive protein-to-calorie ratio, making it 30% more efficient as a protein source than red meat alternatives while containing 70% less saturated fat.
Healthier Alternatives for the Recipe
Transform this basic sliced chicken breast recipe into an even healthier option with these modifications:
- Reduce sodium: Use salt-free herb blends and lemon zest for flavor without the sodium impact
- Increase omega-3s: Cook in a mixture of olive oil and flaxseed oil for enhanced heart-healthy fats
- Boost antioxidants: Add turmeric and black pepper to the seasoning mix for anti-inflammatory benefits
- Plant-based option: Substitute sliced tempeh or seitan, seasoned identically, for a vegetarian alternative with similar texture
- Low-carb coating: Create a parmesan and almond flour coating instead of breadcrumbs for added protein and reduced carbs
These simple swaps maintain the delicious flavor profile while enhancing the nutritional benefits, making your sliced chicken breast both satisfying and supportive of various dietary goals.
Serving Suggestions
Elevate your perfectly cooked sliced chicken breast with these serving ideas:
- Layer over a Mediterranean grain bowl with quinoa, cucumber, cherry tomatoes, and tzatziki
- Wrap in butter lettuce leaves with avocado slices and mango salsa for a light lunch
- Toss with angel hair pasta, lemon juice, capers, and fresh parsley for a quick weeknight dinner
- Add to a hearty salad with roasted vegetables, feta cheese, and balsamic vinaigrette
- Stuff into whole wheat pitas with hummus and sliced vegetables for a protein-packed sandwich
For meal prep enthusiasts, these sliced chicken breasts can be the centerpiece of 4-5 completely different meals throughout the week, reducing cooking fatigue while maintaining nutritional goals.
Common Mistakes to Avoid
Learn from others’ experiences and sidestep these typical sliced chicken breast pitfalls:
- Slicing too thick: Strips thicker than ¼ inch cook unevenly and become tough. Thin, uniform slices are key to perfect texture.
- Cooking cold chicken: Taking chicken directly from refrigerator to pan causes uneven cooking and toughness. Allow 15 minutes at room temperature before cooking.
- Overcrowding the pan: According to culinary data, overcrowding reduces surface temperature by up to 40%, leading to steamed rather than seared chicken.
- Constantly moving the chicken: Repeated flipping prevents proper browning. Let it cook undisturbed for the recommended time.
- Skipping the rest period: Studies show that resting meat increases juice retention by 60%, dramatically improving tenderness and flavor.
- Cooking on too low heat: Low temperatures cause chicken to release moisture before searing, resulting in dry, tough strips. Always preheat your pan properly.
Storing Tips for the Recipe
Maximize freshness and convenience with these storage strategies:
- Refrigeration: Store cooked sliced chicken breast in airtight containers for up to 4 days. For optimal moisture retention, add 1-2 tablespoons of cooking juices before refrigerating.
- Freezing: Freeze cooked slices in single layers on parchment paper before transferring to freezer bags—this prevents clumping and allows for easy portion control. Properly stored, these will maintain quality for up to 3 months.
- Reheating: To prevent drying, reheat refrigerated sliced chicken breast with a splash of water or broth in a covered skillet over medium-low heat until just warmed through (approximately 2-3 minutes).
- Meal prep innovation: Portion individual serving sizes with complementary vegetables in glass containers, creating grab-and-go meals that maintain freshness throughout the week.
Best Amazon Picks :
- COSORI Air Fryer 9-in-1
- Cuisinel Cast Iron Skillets Set
- Knife Sets with Built-in Sharpener
- Precision Vacuum Sealer
Conclusion
Mastering sliced chicken breast cooking transforms this versatile protein from potentially dry and bland to consistently juicy and flavorful. With the right slicing technique, appropriate heat, careful timing, and proper resting, you’ll create perfect chicken strips for countless meal applications. The method’s efficiency and reliability make it ideal for both everyday cooking and special meals. Why not put these techniques into practice tonight? Try this recipe, share your results in the review section, or leave a comment on our blog. Better yet, subscribe for more kitchen game-changers that make healthy eating both accessible and delicious.
FAQs
Q: Can I use chicken tenderloins instead of slicing chicken breasts?
A: Yes! Chicken tenderloins are a great time-saving alternative. They’re naturally the right size and typically more tender, but reduce cooking time by about 1 minute per side as they’re smaller than sliced breasts.
Q: How can I tell if my sliced chicken breast is cooked without a thermometer?
A: Look for opaque white meat with no pink, clear juices, and slight resistance when pressed. However, a thermometer reading of 165°F remains the most reliable method, eliminating guesswork.
Q: Why does my sliced chicken breast always come out dry?
A: Overcooking is the likely culprit. With their thin profile, chicken strips cook 40% faster than whole breasts. Use higher heat for a shorter time and immediately remove from heat when done.
Q: Can I marinate sliced chicken breast, or should I marinate before slicing?
A: Both work, but marinating after slicing increases flavor absorption by up to 200% due to greater surface area. Just reduce marinating time to 30-60 minutes to prevent texture changes.
Q: Is it better to slice chicken breast with or against the grain?
A: Always slice against the grain (perpendicular to the visible muscle fibers). This shortens the muscle fibers, reducing chewiness by up to 50% according to food science studies.
Have You Tried Making Our Recipe?
There are no reviews yet. Be the first one to write one.


